
Introduction: Alerts
You can create alerts for the following IAQ qualities, Virtual Sensors or Systems:
IAQ Qualities
VOC (ppb)
CO2 (ppm)
Humidity (%)
Temperature (°)
Pressure (hPa)
PM 2.5 (µg/m³)
Virtual sensors
Virus risk - What’s Virus Risk? (Article)
Mold risk - What’s Mold Risk? (Article)
System Notifications
Device Offline notification (>60 Min)
Note: Alerts cannot be created for the following IAQ qualities due to sample rate:
Radon
PM 1
Noise
Platform support:
We support the following platforms to issue alerts.
Email
Slack (3rd Party, Requires Set-up)
Properly (3rd Party, Requires Set-up)
LAFT (3rd Party, Requires Set-up)
FDVhuset (3rd Party, Requires Set-up)
FDVweb (3rd Party, Requires Set-up)
3rd Party integrations can be set up by following the directions in the integration's settings in your dashboard.
Note: This is a required prerequisite if you would like to receive alerts on any 3rd party service. (Email is natively supported)
Do more with our API:
With some expertise, alerts can be received through other platforms.
Further information about this can be found on our developers' website.
Navigation
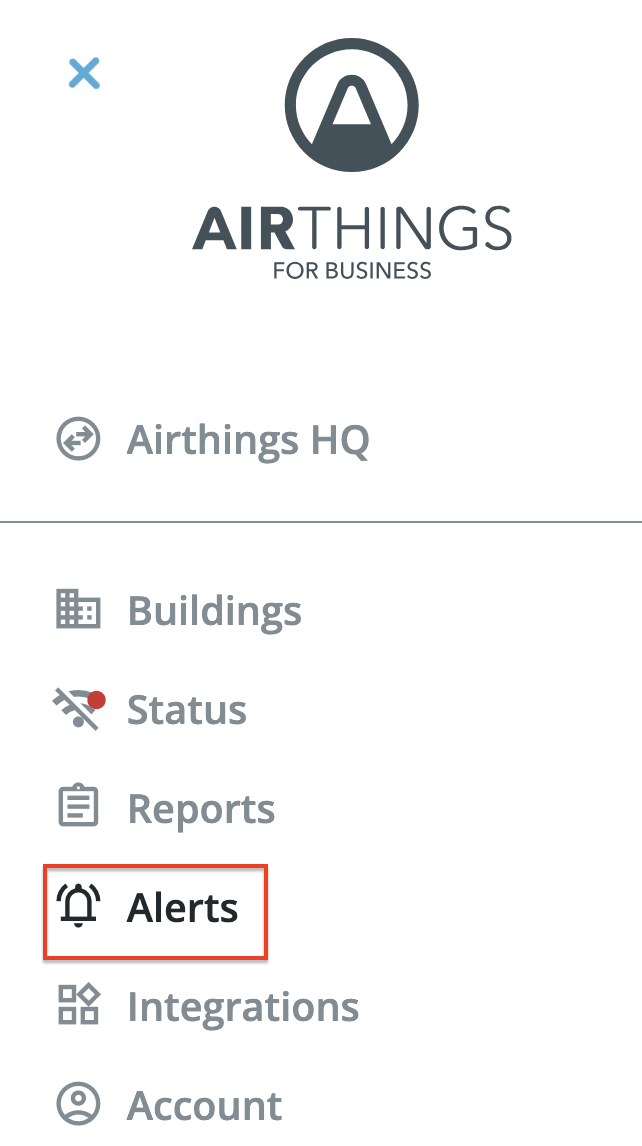
On your Business Dashboard, Navigate to the Menu on the left-side,
Click Alerts.
The Alerts page will now load. You’ll find the following:
Alerts tab- Here is where you can set up new alerts or view existing ones
Alerts History - Here you can find events, or historical alerts once triggered over the past 4 days
Add alert - Adds a new alert
Integrations link - A direct link to add new supported 3rd party integrations through your settings
Created Alerts - This list shows all alerts that’s been created and whether it’s turned on or off
Creating an alert
On the alerts page, click the large yellow button that says “Add Alert”
Create a name for the alert.
We recommend making the name recognizable by naming the kind of sensor and building the alert is for.Select where you would like the alert to be delivered.
Note: In this example we have Slack and LAFT set up as supported 3rd party integrations. 3rd party integrations will need to be set up prior to creating an alert.
Email Alerts
Select a dashboard user who should receive this alert. Alternatively, you can select all users.
Note: Email is natively supported and will not need to be set up as an integration.
Note: Recipients will need to be invited to the dashboard to appear on the list. See our support article: Business Dashboard: User roles and management
Click “Next”
Select between receiving alerts for a specific device or a whole building.
Note: To select a specific device, click the search bar to show your device list.
Select to receive an alert for all devices or for all buildings
Note: When selecting all devices or a building, if any device triggers the alert, an alert will be sent.
Click “Next”
Set rules for the alert
Pick what you would like to get notified on. You can select as many rules as you want to set up in your alert.
Set a threshold’s limit for how high when the alert should trigger.
Set a time for how long the threshold should be above the set limit for the alert to trigger.
Example) In the photo below, we have set up an alert to trigger when the PM 2.5 levels are above 25 (µg/m³) for more than 5 hours and 30 minutes. In the same example we have also turned on device offline alerts.
Note: If you’re unsure what threshold you should set for your alerts view our recommended thresholds
Schedule when alerts should monitor your platform
The following can be chosen:
Within opening hours (Requires Opening Hours)
Outside of opening hours (Requires Opening Hours)
24 hours a day - Get alerts any time of the day, if they achieve the rule(s) set.
Note: Opening Hours can be configured in the building’s settings.
Once everything looks good, Click “Save”
Editing, Enabling or Deleting alerts
Once your alert is set up and ready to go. You’ll find it on the Alerts page.
Clicking an existing alert will allow you to edit, enable/disable, or delete the alert.
To enable/disable an alert:
Open an existing alert
Scroll to the bottom
Click the On (to enable) or Off (to disable) button.
To delete an alert:
Open an existing alert
Scroll to the bottom
Click the red “Delete” button
Confirm by clicking the red “Delete” button